For those who don't know, the theory behind a paper patch is that it functions as a jacket, protecting the bore of the rifle from accumulating lead (known as "leading"). These were the first "jackets" and have since been replaced by copper and other metals. The practice of paper patching dates back to the late 19th century, and is still utilized by black powder enthusiasts as a way to relive history in a small way (at least that's my reasoning). It is done by taking an undersized bullet, wrapping it in a wet patch in the shape of a parallelogram exactly twice, letting it dry and loading it as one would a normal bullet.
After extensive reading on the subject, courtesy of Paul Matthews' "The Paper Jacket," considered the authority on this practice, I figured I had the basics down: Find your groove diameter, buy undersized bullets, patch them with thin paper to match the groove diameter, load and shoot.
Well, not quite...
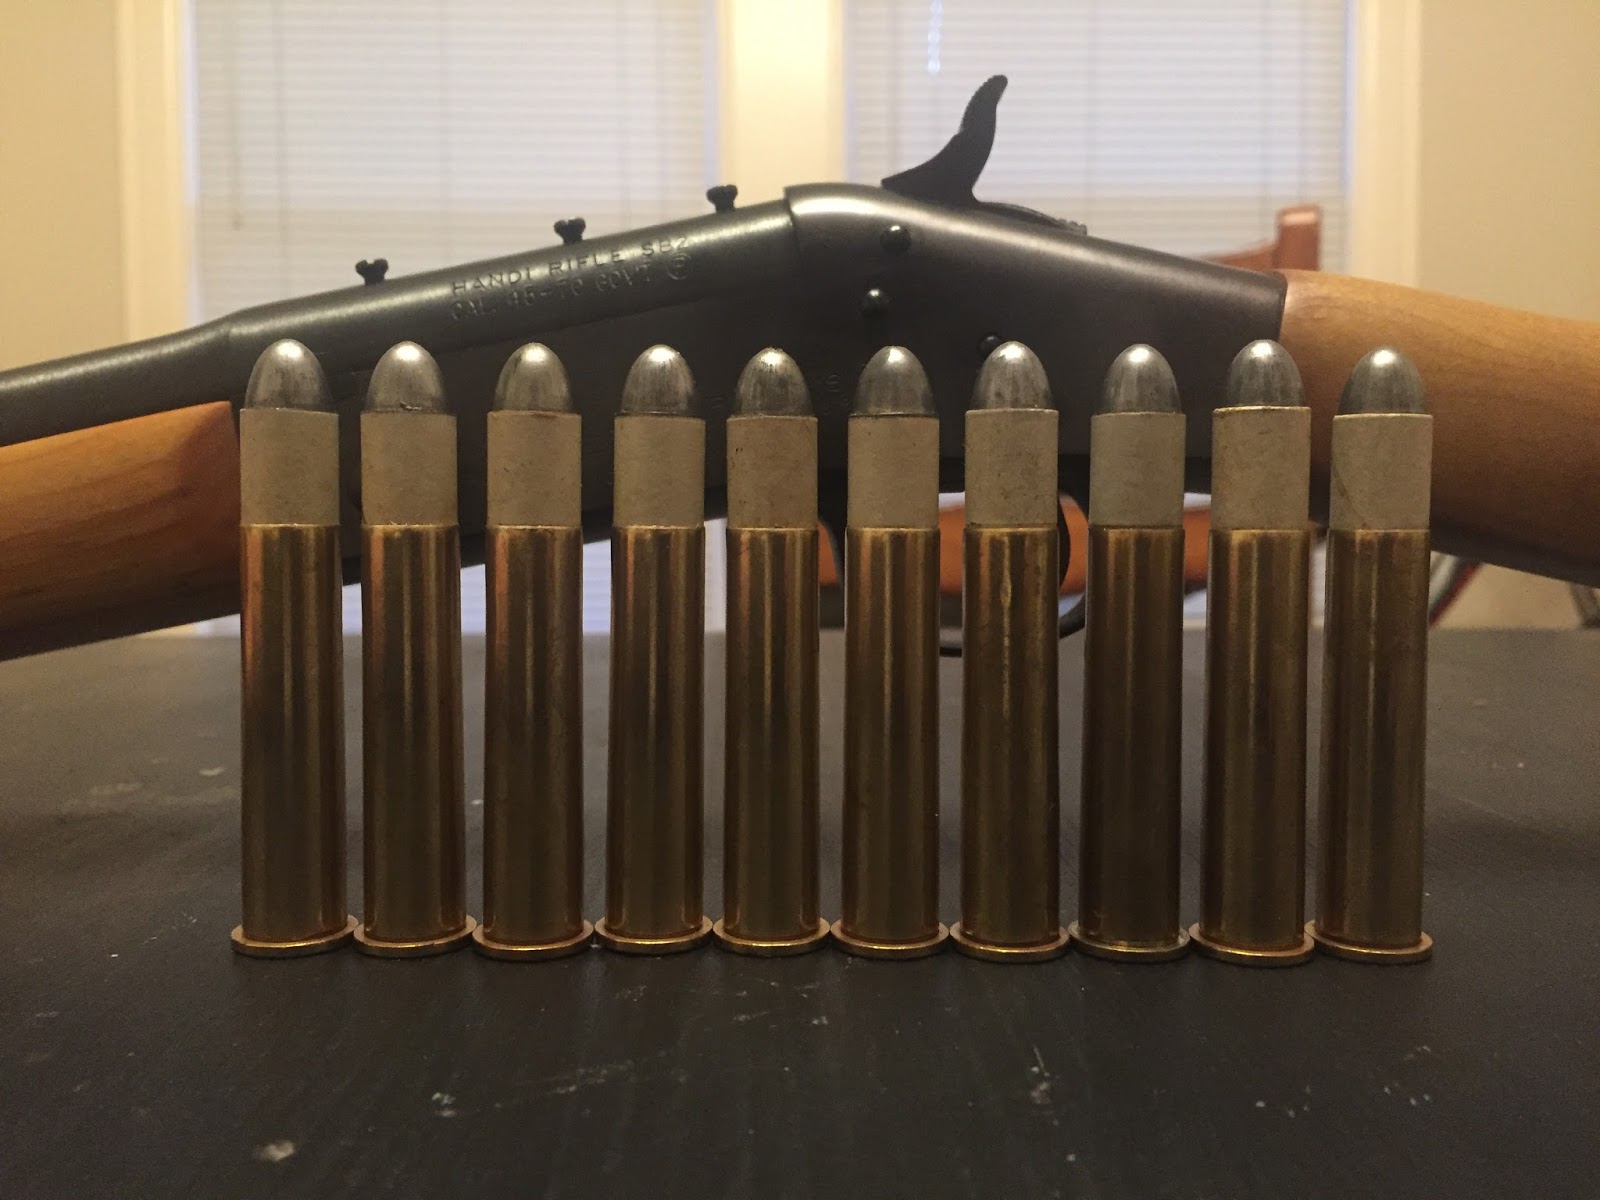
I'll start at the beginning. I bought my first few boxes of paper patching bullets at the Wanenmacher Arms Show in Tulsa. A gentleman named Steve obliged me by letting me handle his Shiloh Sharps, a rifle he was selling for just under $5,000 if I recall. Before I left, I asked if he had any cast lead .458 bullets, at which he pulled out several boxes from Montana Precision Swaging. I bought a few at a steal, and he asked if I was interested in paper patching. My face lit up as he pulled out a few more boxes. Flat sided 540 grain round nosed bullets, sized .450. A little heavy for my little NEF Handi Rifle, but I bought three boxes.

Everything I picked up at the Tulsa Gun Show.
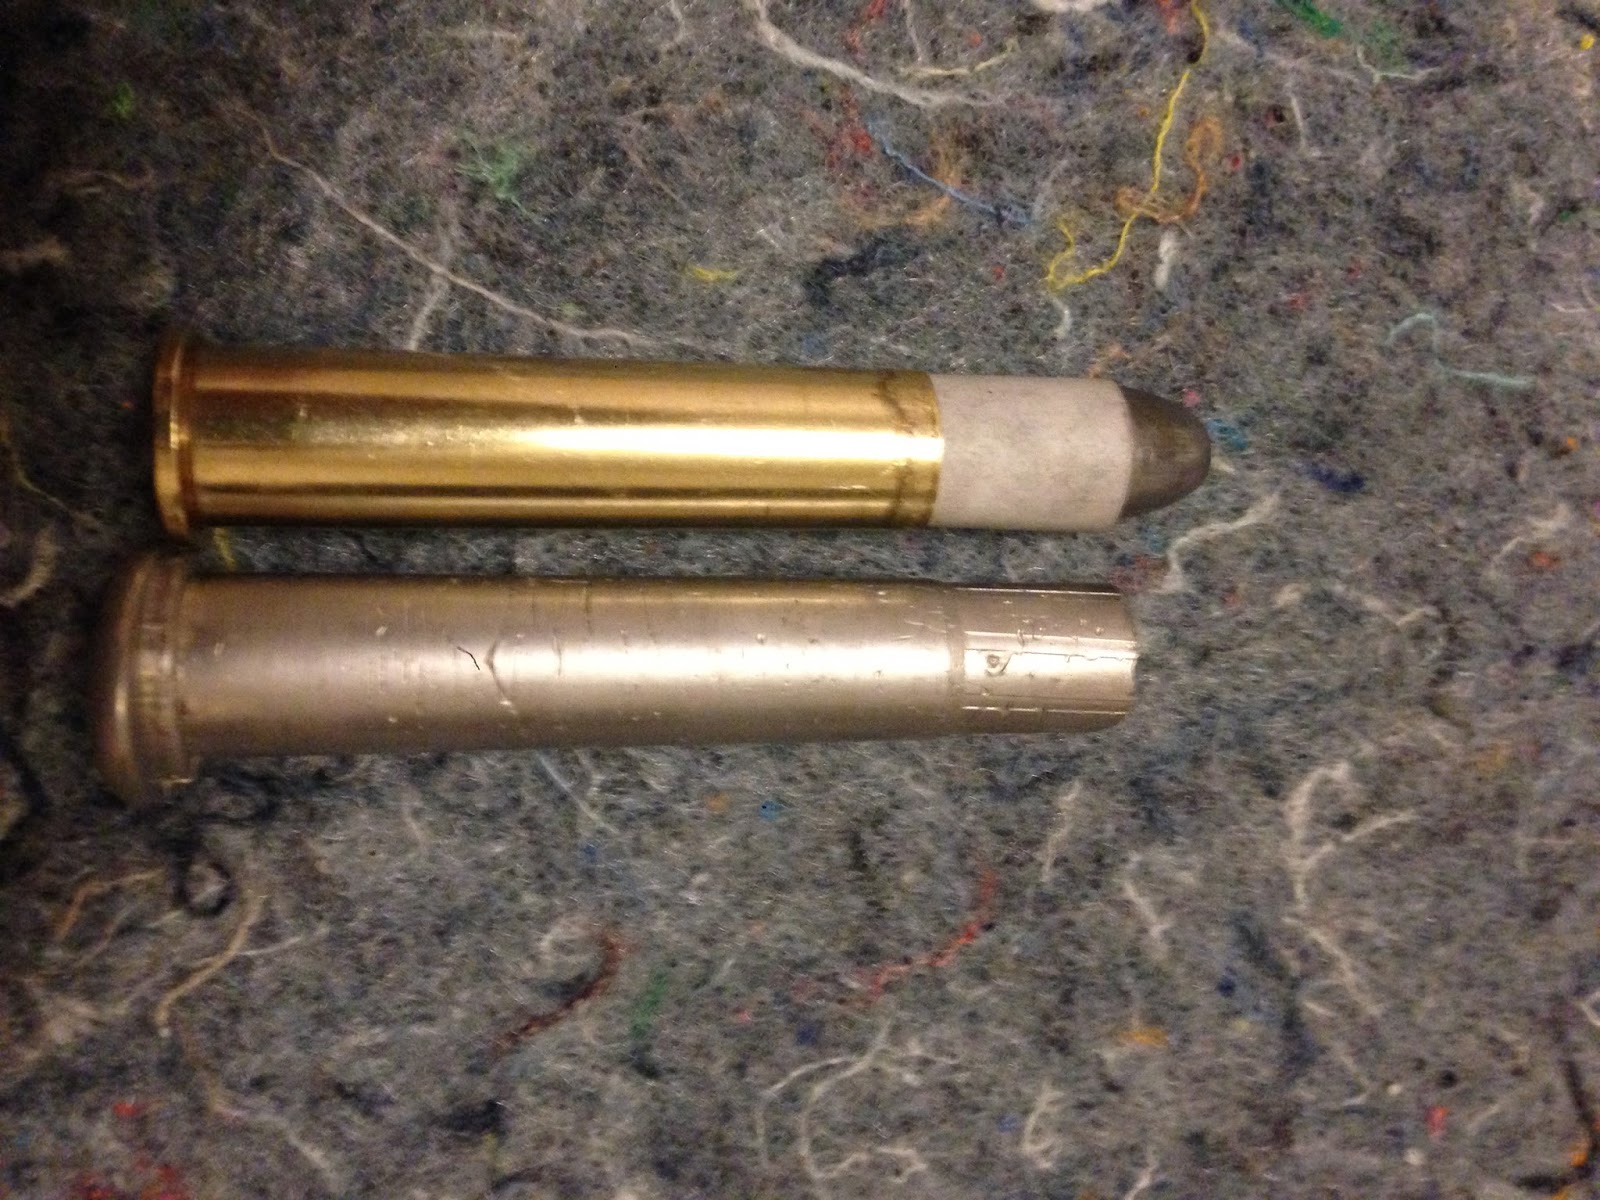
Note the unpatched bullet and my "practice" patch on the right.

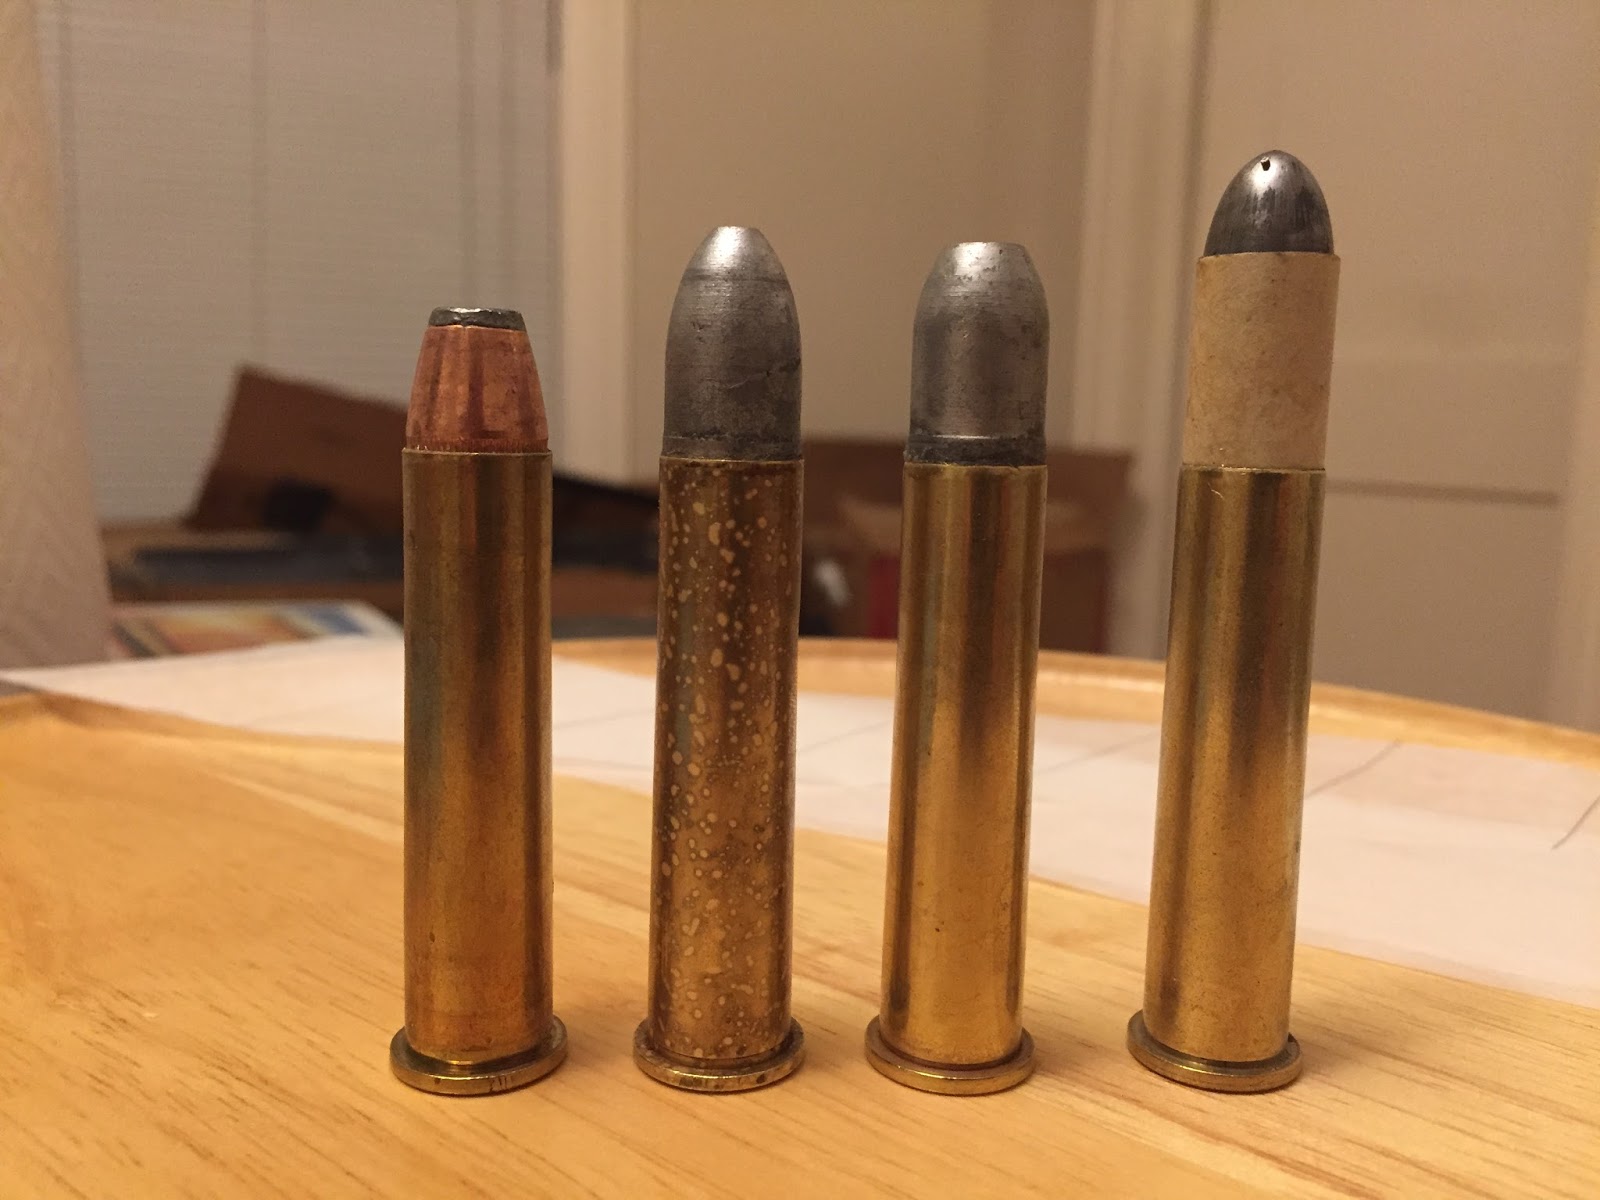
Close up of a patched and unpatched bullet.
Obviously I was doing something wrong. I had measured my patched bullet diameter and it had come out at .458, exactly where I wanted it. After doing more research (this is where Matthews' book came in real handy) I discovered a few things about not only my bullets, but my rifle.

Two great sources on this subject, both by Mr. Paul Matthews.
Secondly, I found out that paper patched bullets work best in chambers with longer throats and a shallow leade angle, where the rifling begins, allowing them to be seated further than on a rifle like mine. After taking mine to a gunsmith to get an opinion, he looked and said it had a throat, just not much of one, so the rifling begins essentially immediately at the case mouth. Mistake #2 identified. I explained my intentions to him, and after he looked at me like I had two heads, said he'd be happy to sell me the work of reaming it, but that it may only fire paper patched bullets well. The added freebore, he explained, may allow conventional bullets to tilt before they can engage the rifling. Factoring this in with the cost of labor and a reamer, I walked away. I would have spent more on the modification than I did on the rifle, or close to it.
Patched round next to a cast of my rifle's chamber. Note how far the patched bullet is seated into the rifling; this was part of the reason I had to match the inside rifling diameter.
My other option made much more sense, and that was to make the bullets fit my gun instead of the other way around. I had to do it methodically, though. I ordered a chamber cast alloy from which I could get my actual bore dimension, as well as some 9 lb onionskin paper from Buffalo Arms. I figured if I could get my land-to-land dimension, and then subtract the thickness of my paper jacket, I could order a sizing die for the bullets. And since they would fit inside the rifling lands, it wouldn't matter how far they protruded from the case.
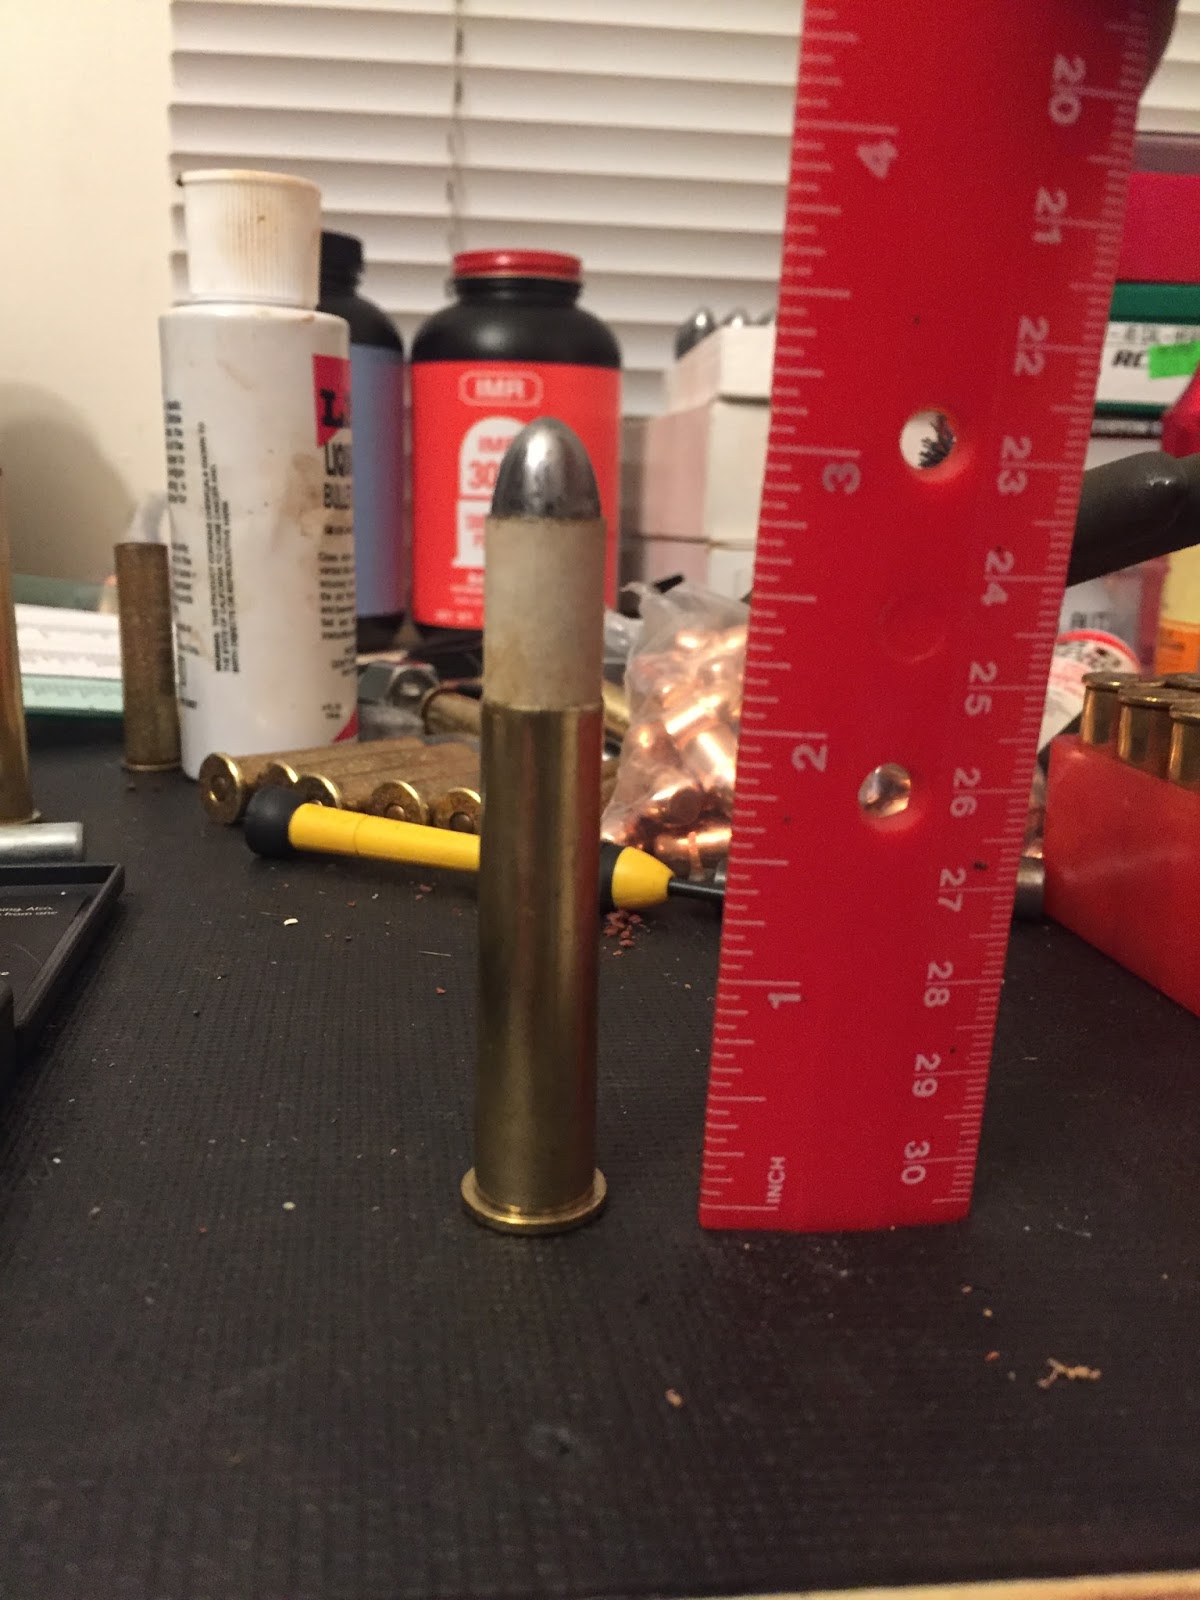
Note the difference in the bullet protrusion compared to more typical bullet designs.
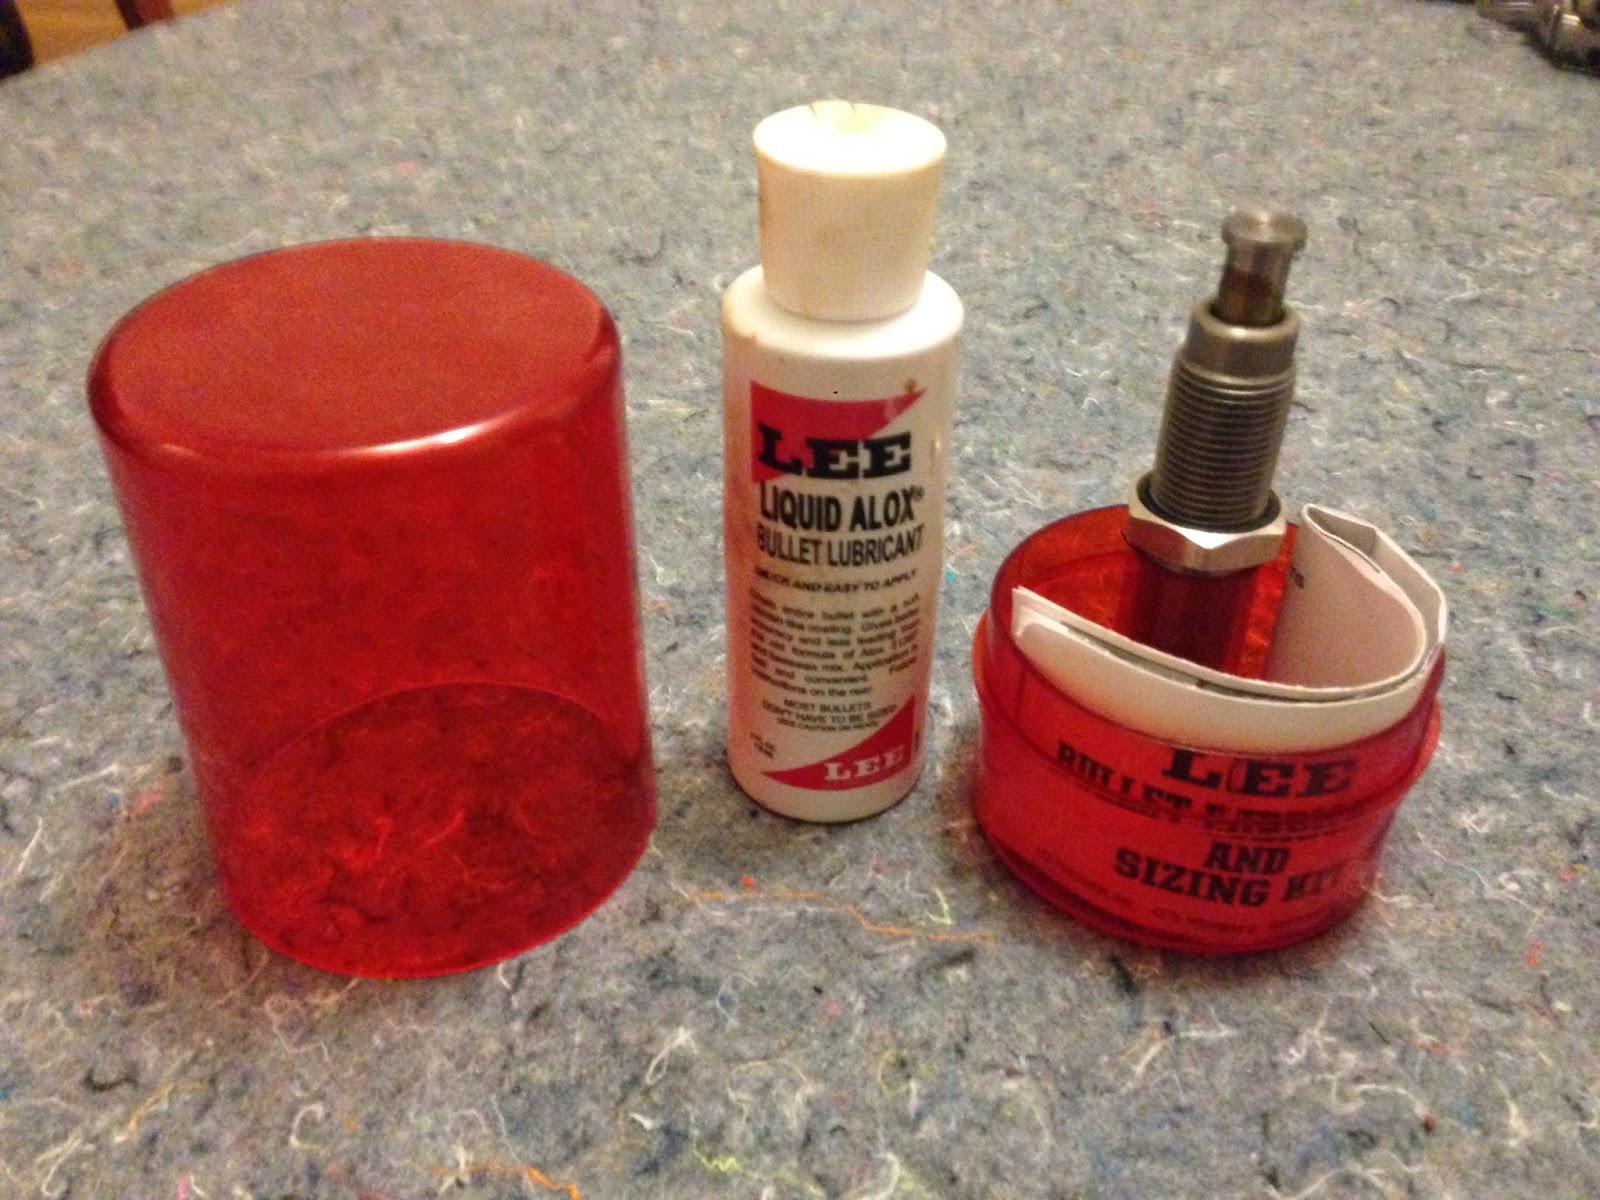
Custom push-through sizing die and lubricant from Lee. This was a $38 tool that, compared with a $200+ sizing press, makes a wonderful alternative for guys like me who would rather spend the money on another gun!
Now that I had spent about $75 on equipment, it better work. I sized one and wrapped it, let it dry overnight, and slid it into the case over my normal load of Pyrodex. I say "slid" because I could literally do it with my fingers, no press needed except to crimp very slightly. I then put it into my chamber, it stopped short, so I applied some light pressure until it chambered fully in my break open action. I had to push it more than a little, and expected another torn patch. However, after pulling the round out I discovered a fully intact patch, with slight lines barely visible, indicating a snug fit in the rifling. Success! Time to head to the range.
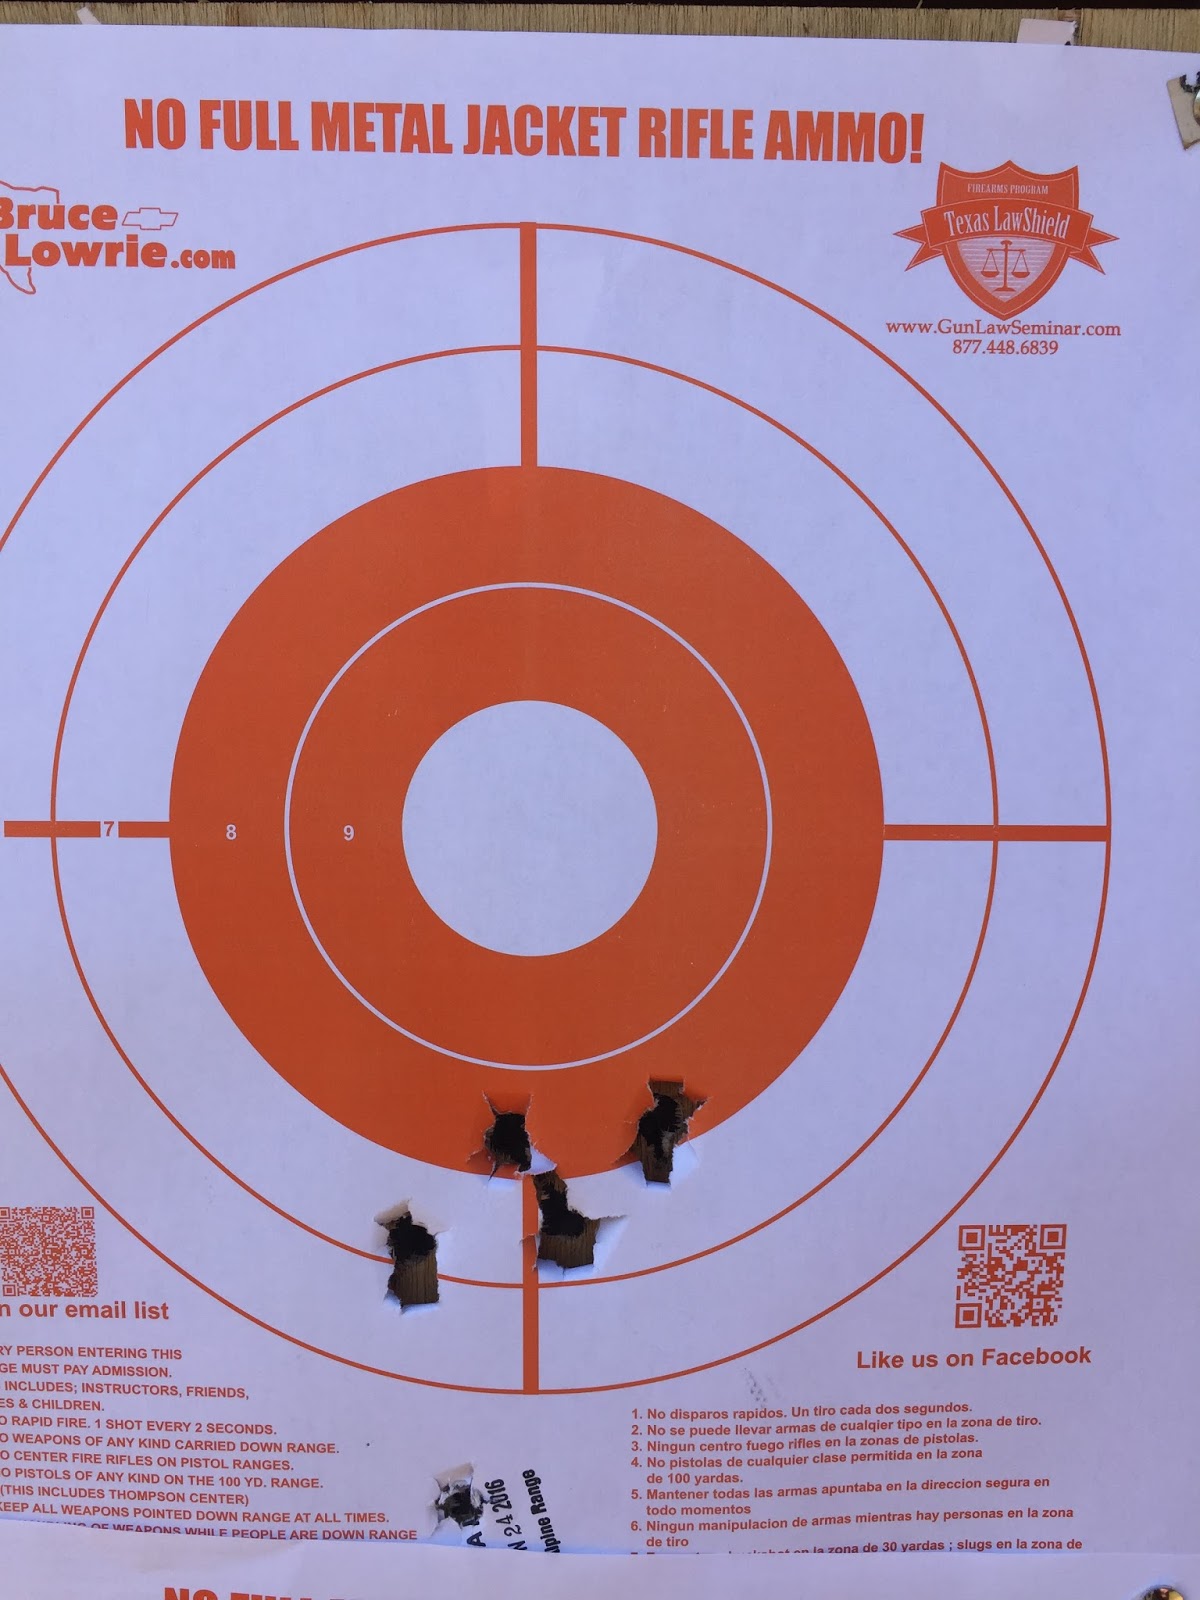
First recorded 5-shot group with apparently one flyer. Not too bad at 100 yards with iron sights!
The feeling of firing one of these things, especially after what was probably a month long process or more, was pure satisfaction. Shreds of paper discard at the muzzle amidst a cloud of smoke, and a slow but heavy push of recoil makes this round a joy to shoot. It's a process I will continue to refine, and I will post updates as I can.
Until then, happy shooting!
Zac